
Places to clear log data from Microsoft Dynamics Axapta 2012

1. Click Area Page node: System administration -> Inquiries -> Batch jobs -> Batch job history.


Form name: Batch job history
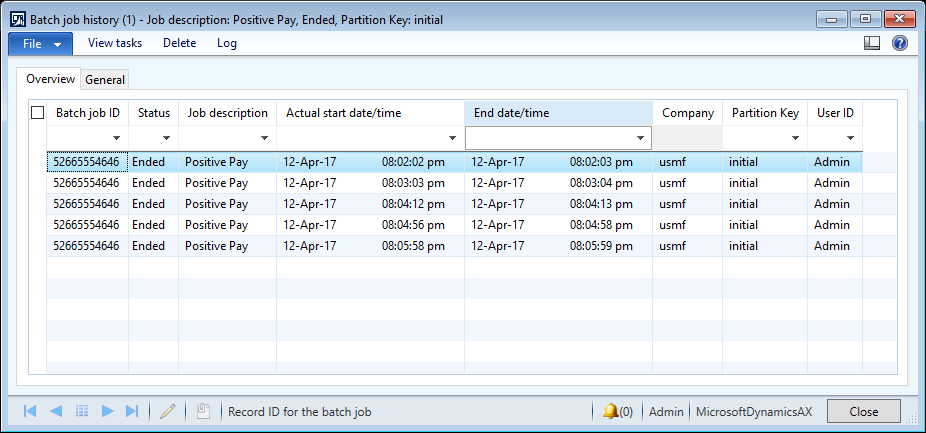

Batch job history

2. Click the Log button.


3. Make sure the selections are changed in table Batch jobs history to:

4. Delete the record(s) in the Batch job history form.


4. Change Batch job ID from '52665554646' to '0'.


6. Click the Close toolbar button.


7. Close the Batch job history form.


8. Click Area Page node: System administration -> Inquiries -> Database -> Database log.


Form name: Database log


Database log

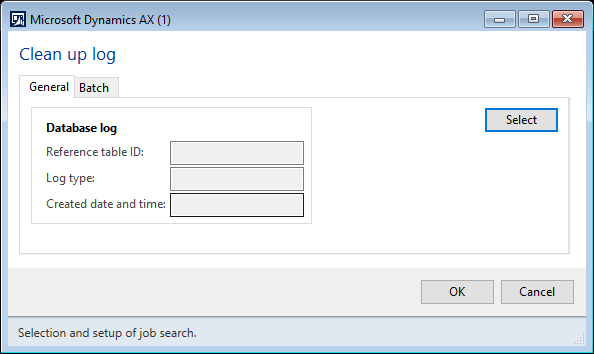
9. Click the Clean up log button.


Form name: Microsoft Dynamics AX

Database log

10. Click the OK button.


11. Close the Database log form.


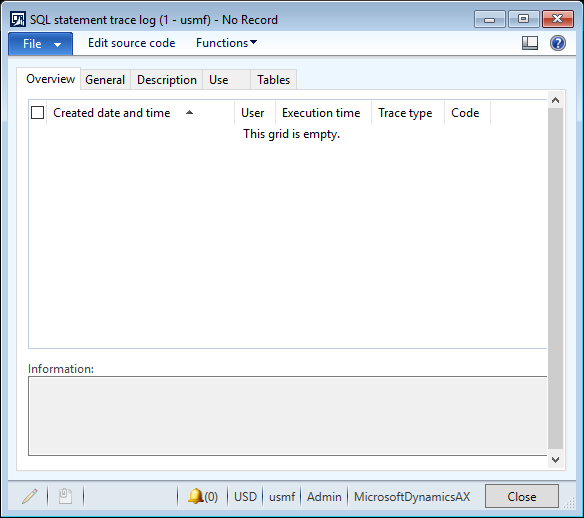
12. Click Area Page node: System administration -> Inquiries -> Database -> SQL statement trace log.


Form name: SQL statement trace log

 SQL statement trace log

13. Click the Functions -> Clear log menu button.


14. Click Yes in the Microsoft Dynamics form.
This will remove the complete trace log. You might want to export the content before proceeding. Clear the complete trace log now?


15. Click the Close toolbar button.


16. Close the SQL statement trace log form.


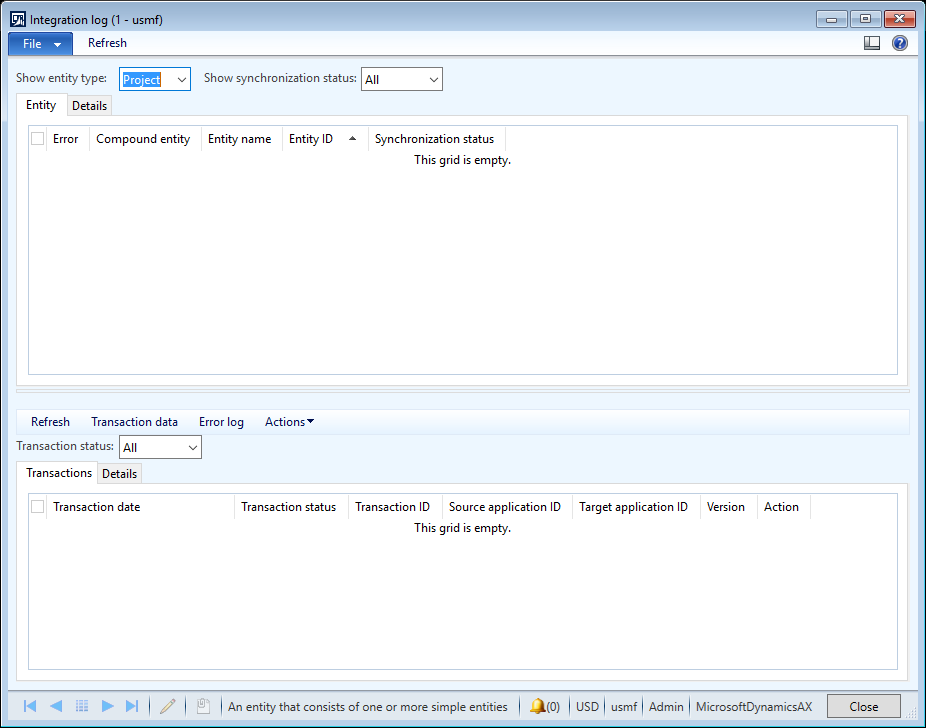
17. Click Area Page node: System administration -> Inquiries -> Microsoft Project Server integration -> Integration log.


Form name: Integration log

Integration log

18. Click the Refresh button.


18. Change Show entity type from 'Project' to 'All'.


20. Click the Refresh button.


21. Close the Integration log form.


22. Click Area Page node: System administration -> Inquiries -> Users -> User log.


Form name: User log
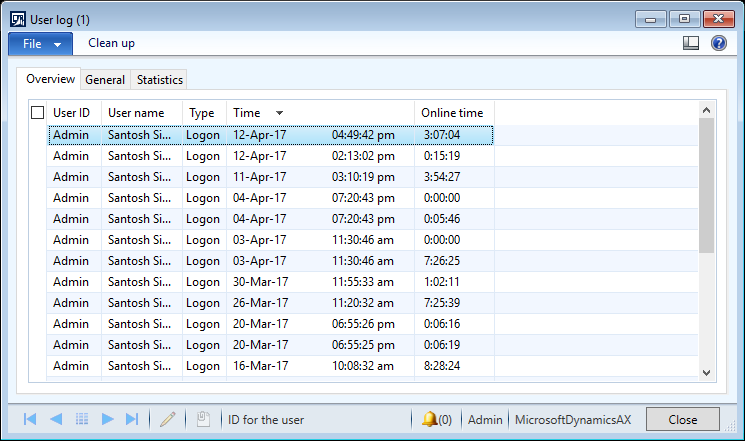

User log

23. Make sure the selections are changed in table User log to:

24. Delete the record(s) in the User log form.


25. Make sure the selection is changed in table User log to:

26. Click the Close toolbar button.


27. Close the User log form.


28. Click Area Page node: System administration -> Periodic -> Services and Application Integration Framework -> Exceptions.


Form name: Exceptions
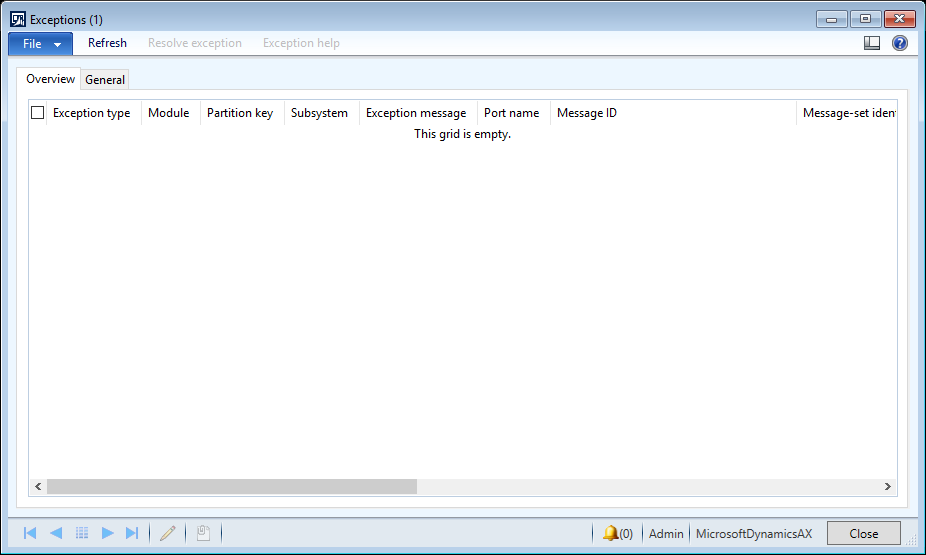

 Exceptions

29. Close the Exceptions form.


30. Click Area Page node: System administration -> Periodic -> Notification clean up.


Form name: Microsoft Dynamics AX
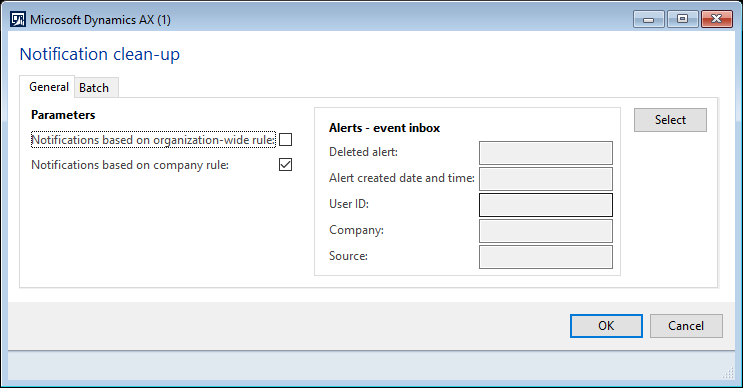

Notification cleanup

31. Click the OK button.

Popular posts from this blog

Code to get Invoice settlement data for customer in ax 2012

This is simple Code to get Invoice settlement amount data for customer payment in ax 2012. This data is after posting of data. select sum(SettleAmountCur) from custSettlement where custSettlement.TransRecId == custtrans.RecId If you want get settlement amount before posting than you can refer spectrans table.The table SpecTrans contains all the transactions marked for settlement for payment journal. while select spectrans join custtransopen join custtrans where spectrans.SpecCompany == ledgerjournaltrans.DataAreaId && spectrans.SpecTableId == ledgerjournaltrans.TableId && spectrans.SpecRecId == ledgerjournaltrans.RecId && spectrans.RefCompany == custtranssopen.DataAreaId && spectrans.RefTableId == custtranssopen.TableId && spectrans.RefRecId == custtranssopen.RecId && custtransopen.RefRecId == custtrans.RecId && custtransopen.AccountNum == custtrans.AccountNum { info...

Cancel Deliver Remainder through X++ (Sales Order ) DAX

 To Cancel Deliver Remainder through X++ you can use below code sample. Thanks. static void _CancelDeliverRemainder_Sales(Args _args) {     SalesLine SalesLine = SalesLine::find('SO0013', true);     ;           if (SalesLine)     {         // Set remaining inventory Qty to zero         SalesLine.RemainInventPhysical  = 0;           // Set remaining physical Qty to zero         SalesLine.RemainSalesPhysical   = 0;                                   // We have to cancel the SalesLine                  SalesLine.PurchStatus           = PurchStatus::Canceled;                    SalesLine.update();         ...

Add Miscellaneous Charges to a Purchase Order in MSD Axapta

Add Miscellaneous Charges to a Purchase Order To add miscellaneous charges to a purchase order, follow these steps: 1. Click Accounts payable > Purchase Order Details. 2. Select a purchase order and then click Posting > Invoice. 3. Enter or select an invoice. 4. Select which miscellaneous charges transactions to add, change, or delete: a. To add, change, or delete miscellaneous charges transactions for the invoice header, click Setup > Misc. charges on the Overview tab. b. To add, change, or delete miscellaneous charges transactions for an invoice line, click the Lines tab, and then click Misc. charges. c. To add, change, or delete miscellaneous charges for the invoice header for a summary invoice that is selected on the Overview tab, click the Purchases tab, and then click Setup > Misc. charges. 5. In the Misc. charges transactions form, enter the miscellaneous charge from the invoice that you received from your vendor. 6. If necessary, you can click ...